How to build a Hugo website in AWS Lambda and deploy it to S3
· 9 min read
This tutorial explains how to run Hugo in AWS Lambda and deploy a static website to Amazon S3.
Running Hugo in AWS Lambda can be useful if you want to automate your Hugo builds in the cloud and only pay for the build time.
Example use cases:
- Build the website when code is pushed to GitHub. GitHub can trigger the Lambda through an API Gateway endpoint using webhooks.
- Content authors use a web form to submit website content. The content is uploaded to S3, which triggers the Lambda to build and deploy the website.
Even though getting Hugo to run in Lambda is a fun project, I'll note that for a simple website like mine nothing beats the AWS Amplify Console linked to a GitHub repo.
Solution
We will create a Python function that downloads website's files from an S3 bucket, runs Hugo to generate the website, and uploads the static website to another S3 bucket configured to serve web pages.
Here are the high-level components we need to create to make it all work.
- Lambda Layer with a Hugo binary that the function will execute.
- Lambda Layer with the libstdc++ library, a Hugo's dependency.
- Lambda Layer with AWS CLI to enable easy copying of files to/from S3.
- S3 buckets to store files and serve the website.
- Lambda function that will build and deploy the website.
- IAM role with the necessary permissions for Lambda to read from and write to S3.
SAM Template
If you prefer to use CloudFormation or AWS SAM, I've put together a SAM template on GitHub. Follow the README to get started.
Note that you'll still have to obtain all the dependencies described in steps 1-3 and put the zip files into the layers directory, so keep reading.
Step-by-step guide using the AWS Management Console
1. Create a Lambda Layer with the Hugo binary
To run Hugo in Lambda, we will need to make the Hugo binary available to the function as a Lambda Layer. The contents of the layer will be added to the Lambda execution environment and can be used from the function code.
- Download the latest Hugo binary for Linux from GitHub. The file name should look like
hugo_0.54_Linux-64bit.tar.gz. Alternatively, download pre-packaged hugo 0.54 layer and proceed to step 3. - Un-tar the archive and zip the
hugobinary intohugo-layer.zip. Important: hugo should be in the “root” of the zip archive, do not place it into a subdirectory. - Go to the Lambda console, click on Layers in the left menu, and click Create layer.
- In the form, give your layer a name, upload the zip file and select the Python 3.7 runtime.
2. Create a Lambda Layer with the libstdc++ library
Hugo requires libstdc++ in order to run but this library isn't included in the Lambda execution environment. This means we need to obtain this library compiled specifically for Amazon Linux 2.
This process is a little involved, so I wrote a separate post detailing how to do it. Follow the steps in AWS Lambda: libstdc++.so.6 version GLIBCXX_3.4.20 not found error, zip libstc++.so.6 into libstdc-layer.zip, and come back when you're done.
Alternatively, download pre-packaged libstdc++ layer and create a Lambda just like you did for Hugo in step 1.
3. Create a Lambda Layer with AWS CLI
AWS CLI makes it very easy to get files to and from S3 with the aws s3 sync command. However, it is not part of the Lambda execution environment, so we'll need to create a Lambda Layer with the AWS CLI.
Follow the steps in How to use AWS CLI within a Lambda function (aws s3 sync from Lambda), zip it into awscli-layer.zip, and come back when you're done.
Alternatively, download pre-packaged AWS CLI 1.16.115 layer and create a Lambda just like you did for Hugo in step 1.
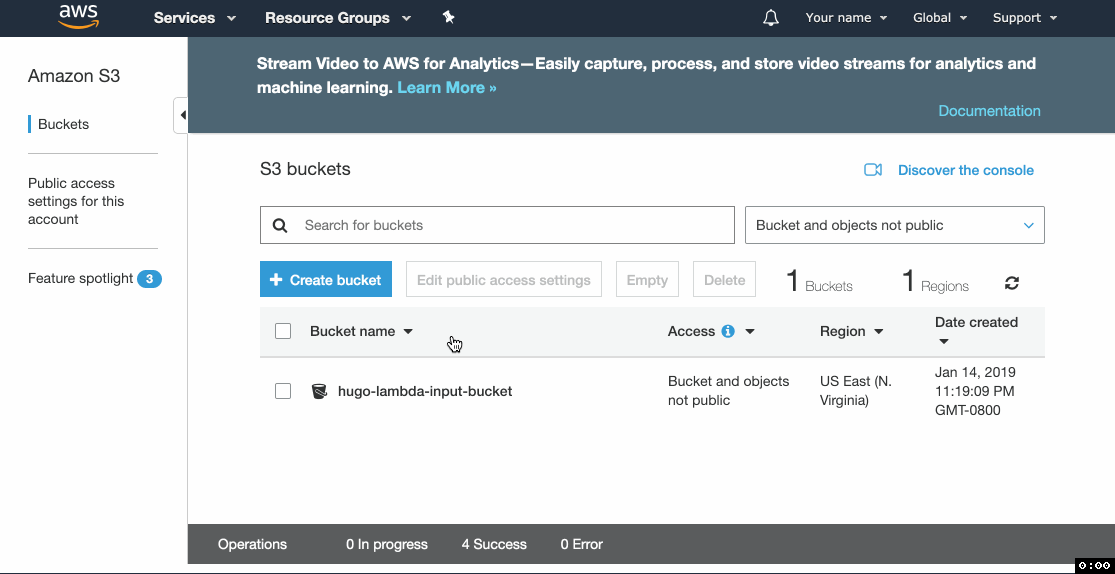
4. Create S3 buckets
a) Source bucket
Let's create the bucket where you will store your website's source files.
- Go to the S3 console and click Create bucket.
- Enter the Bucket name and click through the form keeping the default settings.
- Upload your Hugo website source files.
- Copy the name of the bucket, you'll need it later.
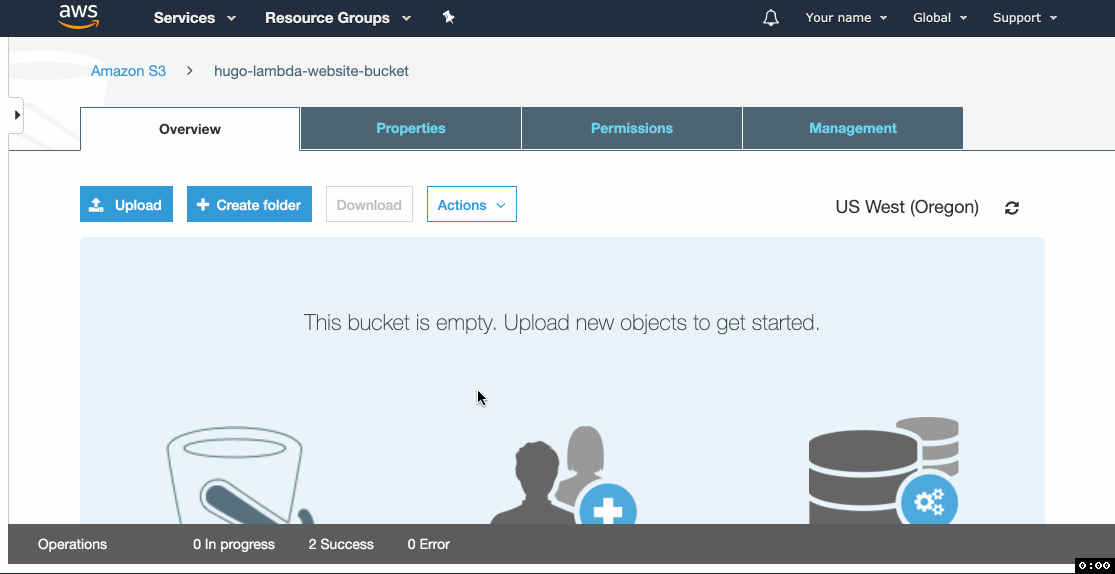
b) Website bucket
This is the bucket that will serve your website. We need to enable website hosting and configure the access policy to make the bucket files readable by anyone.
- Create a new bucket just like you did in the previous step.
- Click the Properties tab and click on Static website hosting.
- Select Use this bucket to host a website and then type
index.htmlin Index document and404.htmlin Error document. - Copy the Endpoint URL and click Save.
- Go to Permissions tab, click Public access settings, click Edit.
- Un-tick Block new public bucket policies (Recommended) and Block public and cross-account access if bucket has public policies (Recommended). Click Save.
- Click on Bucket Policy.
- Paste the following policy and replace
example-bucketwith the name of your bucket. Click Save. - Copy the name of the bucket, you'll need it later.
{
    "Version": "2012-10-17",
    "Statement": [
        {
            "Sid": "PublicReadGetObject",
            "Effect": "Allow",
            "Principal": "*",
            "Action": "s3:GetObject",
            "Resource": "arn:aws:s3:::example-bucket/*"
        }
    ]
}
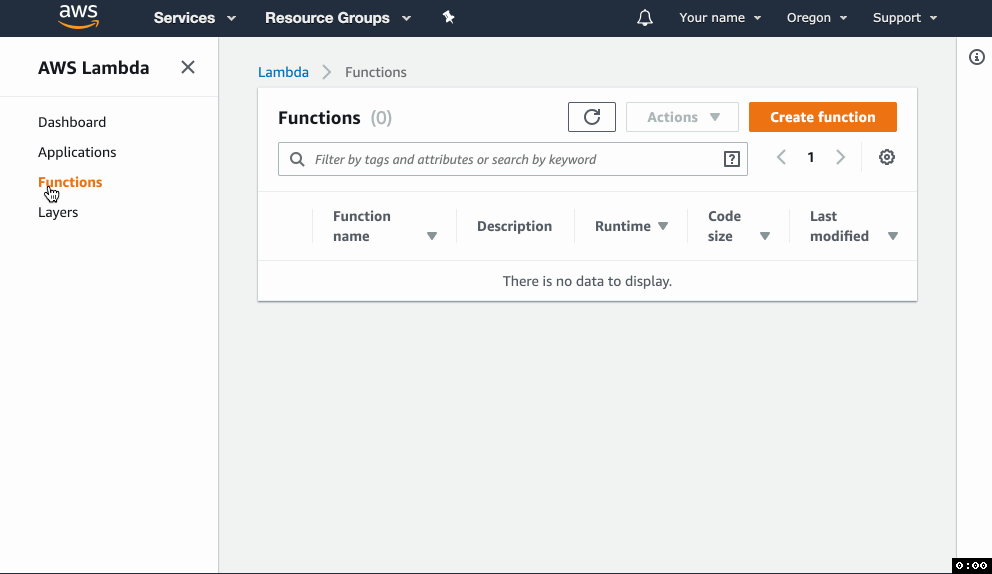
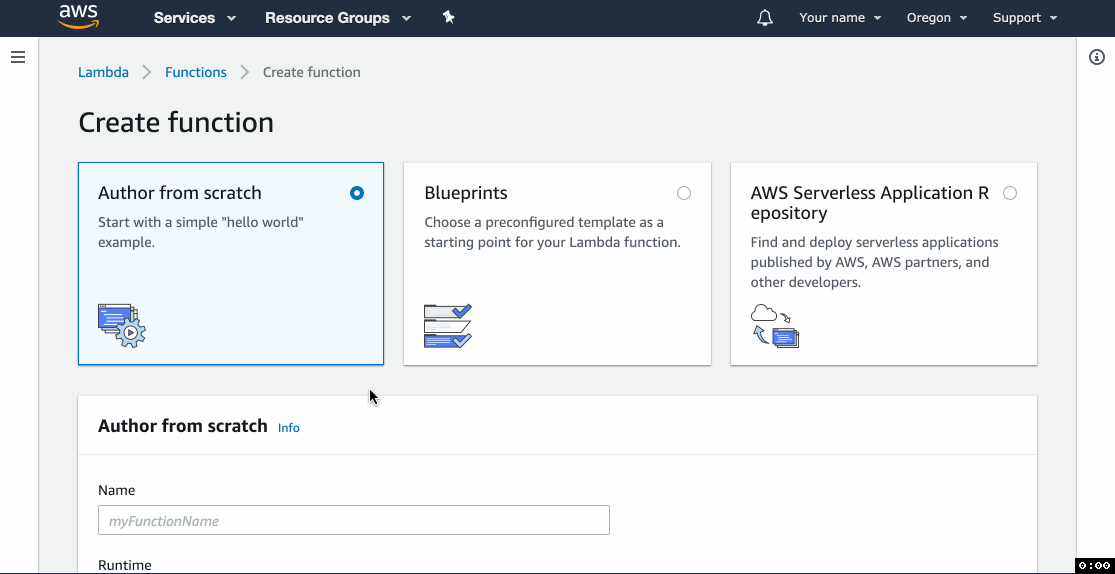
5. Create the Lambda function
Now the fun part. We'll create a Lambda function that will make use of all the artifacts we've created so far.
- Go to the Lambda console and click Create function.
- In the form, give the function a name and select
Python 3.7in the Runtime dropdown. - Under Role, select
Create a new role from one or more templates, give your role a name, and selectAmazon S3 object read-only permissionsfrom the Policy templates dropdown. Remember the role's name, you'll need it later. - Click Create function.
- In the Designer section, click on Layers (right under the function name in the middle of the screen).\
- Click Add a layer and select the layer you created in step 1. Repeat for the other two layers.
- Click on the function name in Designer and scroll to the Environment variables section.
- In Key type
SOURCE_PATHand paste the source bucket's name from step 4a in the Value text box. Note: only paste the bucket name, e.g.example-bucket. - In the next line, add another variable
DESTINATION_BUCKETwith the website bucket name from step 4b as the value. - Scroll to Basic settings and set Memory to
512 MBand Timeout to30 seconds. - Scroll to the code editor, paste the following code and click Save.
Note on the code:
- This function uses the
subprocessmodule in Python to run shell commands. It's essentially a shell script packaged as a Python program. Read through the comments to understand how it works.\ - Lambda Layers are unzipped in the
/optdirectory. - Binaries must have
755permissions in order to run. If you see access denied errors in logs when trying to run shell commands, you may need to runchmod u+xon the binaries to make them executable. If you used a Mac or Linux machine to download the files, there should be no issue with permissions. - Lambda functions can write files to the
/tmpdirectory and this is where the function downloads the sources and stores the output of Hugo.
import subprocess
import os
import logging

# Environment variables
LOCAL_SOURCE_DIR = '/tmp/hugo_source'
LOCAL_BUILD_DIR = '/tmp/hugo_build'
SOURCE_S3_BUCKET_PATH = os.environ['SOURCE_PATH'] # e.g. "mybucket" or "mybucket/site_directory"
DESTINATION_BUCKET = os.environ['DESTINATION_BUCKET'] # e.g. "mywebsitebucket"

# Setting up a logger with a more readable format
logger = logging.getLogger()
if logger.handlers:
    for handler in logger.handlers:
        logger.removeHandler(handler)
logging.basicConfig(format='%(asctime)s [%(levelname)s]: %(message)s',level=logging.DEBUG)

# Runs a shell command. Throws an exception if fails.
def run_command(command):
    command_list = command.split(' ')
    try:
        logger.info("Running shell command: \"{0}\"".format(command))
        result = subprocess.run(command_list, stdout=subprocess.PIPE);
        logger.info("Command output:\n---\n{0}\n---".format(result.stdout.decode('UTF-8')))
    except Exception as e:
        logger.error("Exception: {0}".format(e))
        raise e
    return True

# Downloads source of the Hugo website from S3
def download_from_s3(s3_path,local_path):
    logger.info('Downloading source code from S3: {0}'.format(s3_path))
    run_command('/opt/aws s3 ls {0}'.format(s3_path))
    run_command('/opt/aws s3 sync s3://{0} {1}'.format(s3_path,local_path))
    run_command('ls -l {}'.format(local_path))

# Builds a hugo website
def build_hugo(source_dir, destination_dir,debug=False):
    logger.info("Building Hugo site")
    run_command("/opt/hugo -s {0} -d {1}".format(source_dir,destination_dir))
    run_command("ls -l {0}".format(destination_dir))

# Uploads the built website to S3
def upload_to_s3(local_path,s3_path):
    logger.info('Uploading Hugo site to S3: {0}'.format(s3_path))
    run_command('/opt/aws s3 rm s3://{0} --recursive'.format(s3_path))
    run_command('/opt/aws s3 sync {0} s3://{1}'.format(local_path,s3_path))
    run_command('/opt/aws s3 ls {0}'.format(s3_path))

def lambda_handler(event, context):
    download_from_s3(SOURCE_S3_BUCKET_PATH,LOCAL_SOURCE_DIR)
    build_hugo(LOCAL_SOURCE_DIR,LOCAL_BUILD_DIR)
    upload_to_s3(LOCAL_BUILD_DIR,DESTINATION_BUCKET)

    return {"statusCode": 200, \
        "headers": {"Content-Type": "text/html"}, \
        "body": "Build complete"}
6. Modify the IAM role
You might have noticed that we only gave this function read-only access to S3. When the function attempts to write files to the S3 bucket, it will fail due to lack of permissions to write to S3. We need to manually update the IAM policy for the role created by Lambda.
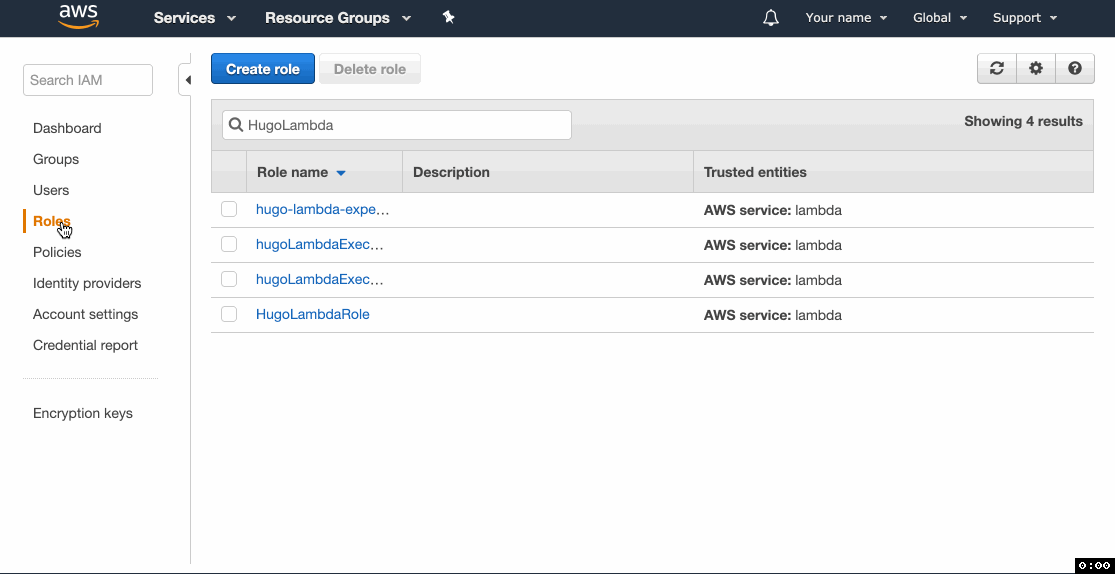
- Go to the IAM console and click on Roles in the left menu.
- Locate the role you've created with the Lambda function in step 5.3 and click on it.
- Click Add inline policy and then go to the JSON tab.
- Paste the following statement, replacing
example-source-bucketandexample-website-bucketwith your source and website buckets’ names, click Review and proceed to saving the policy.
{
    "Version": "2012-10-17",
    "Statement": [
        {
            "Action": [
                "s3:GetObject",
                "s3:ListBucket",
                "s3:GetBucketLocation",
                "s3:PutObject",
                "s3:DeleteObject"
            ],
            "Resource": [
                "arn:aws:s3:::example-source-bucket",
                "arn:aws:s3:::example-source-bucket/*",
                "arn:aws:s3:::example-website-bucket",
                "arn:aws:s3:::example-website-bucket/*"
            ],
            "Effect": "Allow"
        }
    ]
}
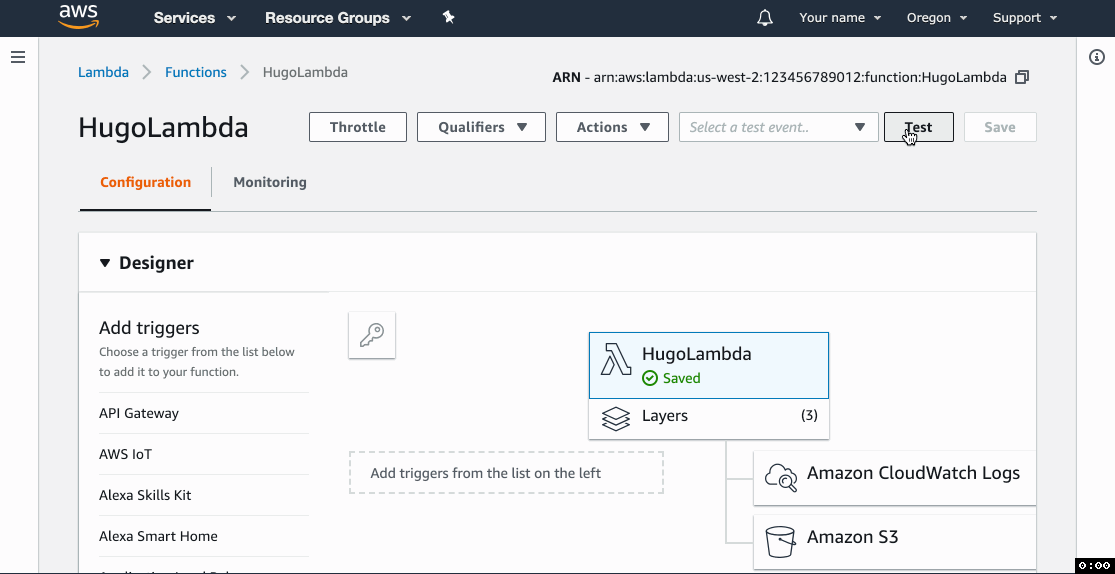
7. Test!
- Click Test and create a sample event from the
Hello Worldtemplate. The contents of the event don't matter, just give it a name and go with the defaults. - Click Test and wait for the function to execute.
- The Execution result section should be green and show logs that end with the list of files in the website bucket.
- Go to the website URL you copied in step 4b.4 and you should see your test site.
2019-01-29 08:20:55,516 [INFO]: Running shell command: "/opt/aws s3 ls example-website-bucket"
2019-01-29 08:20:58,833 [INFO]: Command output:
---
                           PRE categories/
                           PRE css/
                           PRE page/
                           PRE posts/
                           PRE tags/
2019-01-29 08:20:55       1176 404.html
2019-01-29 08:20:55       6926 android-chrome-192x192.png
2019-01-29 08:20:55      19748 android-chrome-512x512.png
2019-01-29 08:20:55       6489 apple-touch-icon.png
2019-01-29 08:20:55        246 browserconfig.xml
2019-01-29 08:20:55        753 favicon-16x16.png
2019-01-29 08:20:56       1137 favicon-32x32.png
2019-01-29 08:20:56       7406 favicon.ico
2019-01-29 08:20:56       2030 index.html
2019-01-29 08:20:56        799 index.xml
2019-01-29 08:20:56       3360 mstile-150x150.png
2019-01-29 08:20:56        426 site.webmanifest
2019-01-29 08:20:56        738 sitemap.xml

---
END RequestId: 9c55f1ac-9d5d-43c5-8505-fe617d12348c
REPORT RequestId: 9c55f1ac-9d5d-43c5-8505-fe617d12348c	Duration: 17344.58 ms	Billed Duration: 17400 ms 	Memory Size: 512 MB	Max Memory Used: 111 MB
References
- ryansb/hugo-lambda on GitHub. I borrowed the idea from Ryan and turned it into a tutorial.
- The official Hugo site
Disclosure
At the time of this writing, I work as a Principal Product Manager at AWS. This post is about my personal project and is not endorsed by AWS.